Prerequisites
Download, install and activate WebRatio Platform 9. Refer to the following articles to learn how to install and how to activate WebRatio Platform 9.
Download the “TodosManagerService” project attached to this article and import it in your workspace.
Refer to this video to learn how to import a project in WebRatio.
Let’s complete the configuration of the dataservice project
- Open the "TodosManagerService" project double clicking on the Model.wr file.
- Move to the "Domain Model" tab.
- Right click on the "Todos" database and select the Execute SQL… option.
- Execute the "DBScripts/RunMe.sql" script.
Getting Started
You need a dedicated project to model your Web application. This project contains the model of the Web application and all other resources needed. Let’s see how to create it.
- Use the menu command File > New > Web App.
- Type “MyToDos” as Project name and press Finish.
The project will be created and opened in the main area. Watch this video if you want to learn more about the user interface organization.
Step 1 - Create your first web application in minutes
Let’s start by creating the model for authenticating in the application.
- Right click in the “Public” web view.
- Select the Include Pattern from library… option.
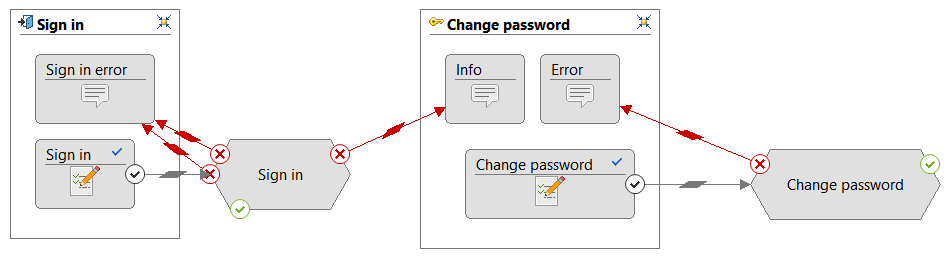
- Select the "Login and Home pattern" option and press OK.
You should get a model that looks like the following one.
The prerequisite to model content for this application is to set the “TodosManagerService” project as a dependency to the project.
- Select the “Project” tab.
- Press Add.. in the Dependencies section.
- Select the “TodosManagerService” and press OK.
Now let’s add to the home page a “Todo Items” list. You should obtain a model similar to the one shown in the picture below.

Once you have designed the IFML model let’s focus on the graphic. Move to the Layout tab to open the User Interface Designer and design the list graphic using a “Data Grid” widget. Configure the “Data Grid” widget as follows:
- Content section
- Columns: All attributes of rows
- Rows: Rows data
- Title: My Todos
- Design section
- Color: Secondary
- Header Color: Secondary
- Advanced section
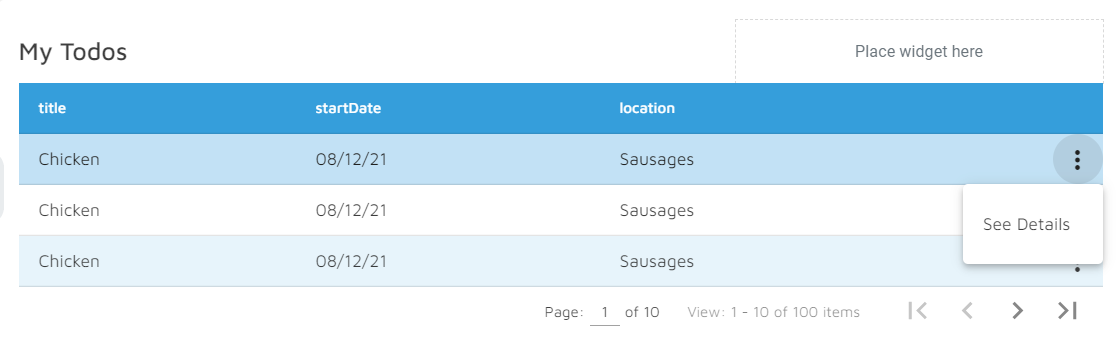
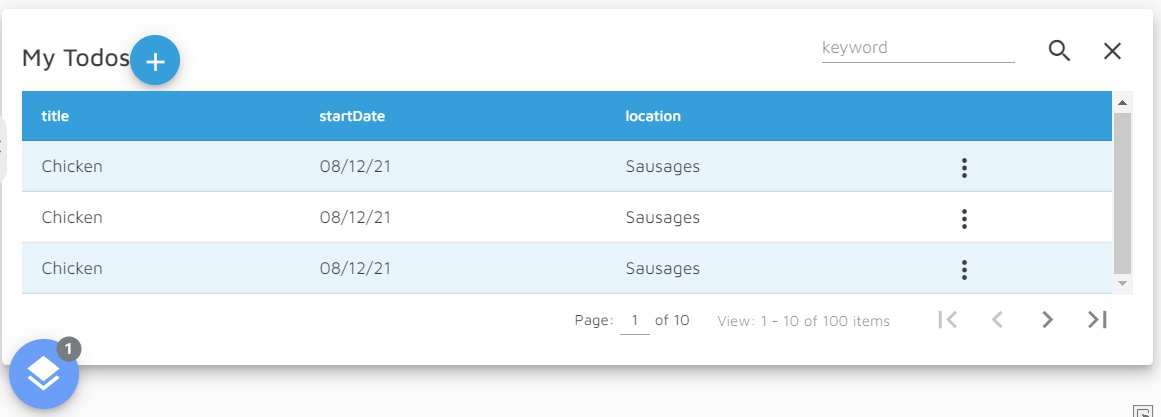
You should obtain something similar to the following image:
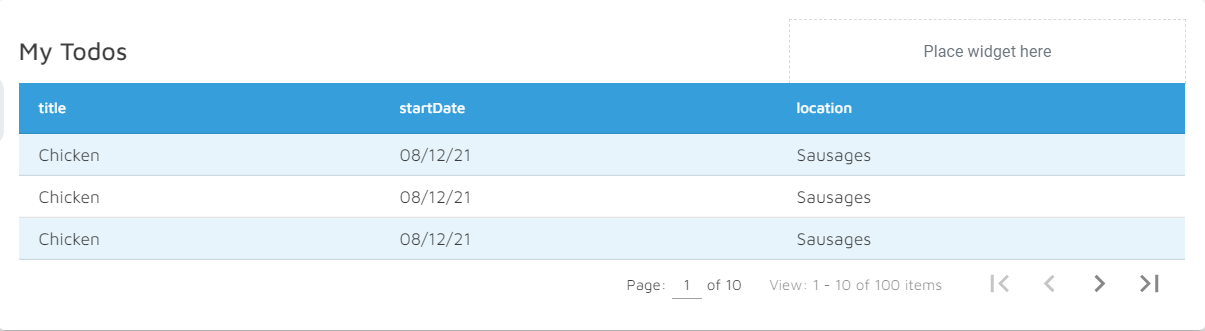
WebRatio Platform lets you test on the fly the Web application you just modeled. Press the Generate and Run button to get the Web application. The tool will open your default web browser showing the login page of the application. Login using “MyToDosUser” both for username and password. You will see a page like the one below:
Step 2 - Create To do List & Details
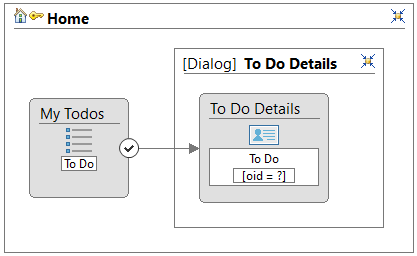
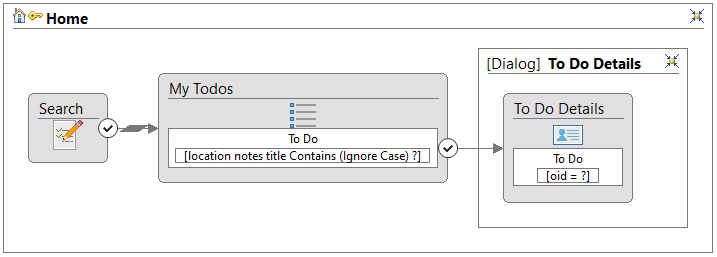
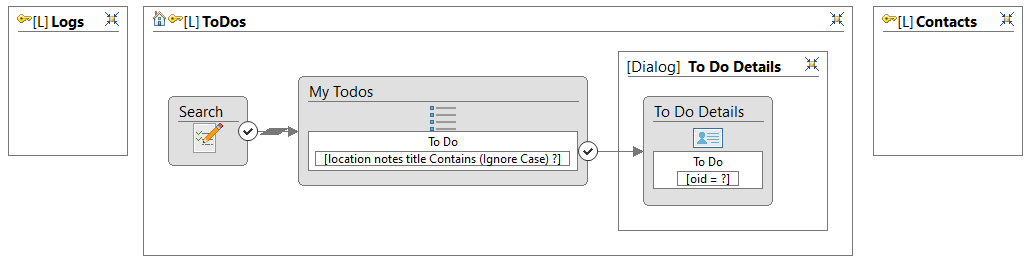
Let’s add to the Web application the chance to select one to do item from the list to see its details in a dedicated dialog. You should design a model similar to the one proposed below:
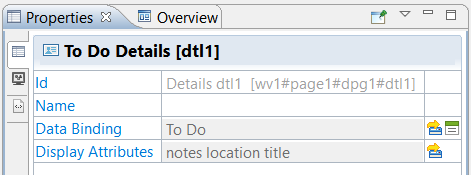
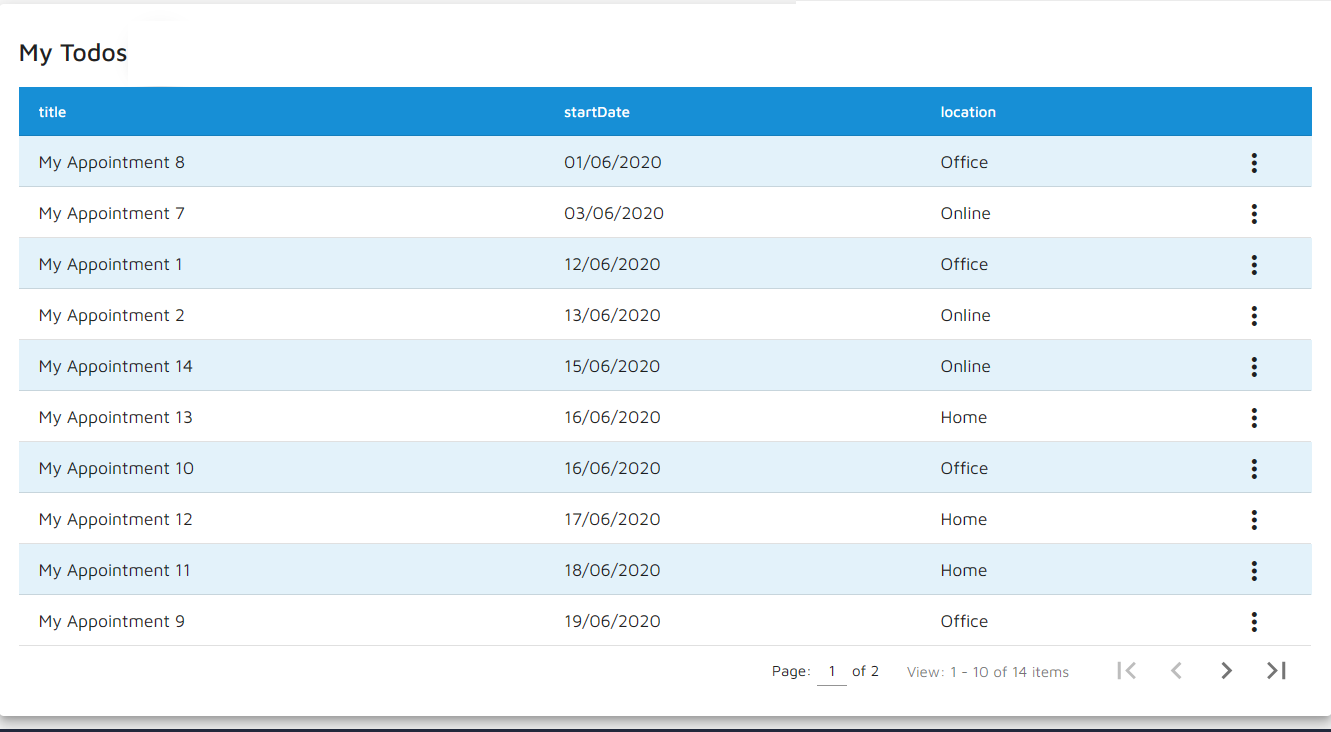
Now let’s design the graphic of the details. Let’s select the Data Grid widget and configure it to show all the list events placed in a menu.
Let’s use a Dialog widget and place a Card inside it to show all the details. You should get something similar to the image below:
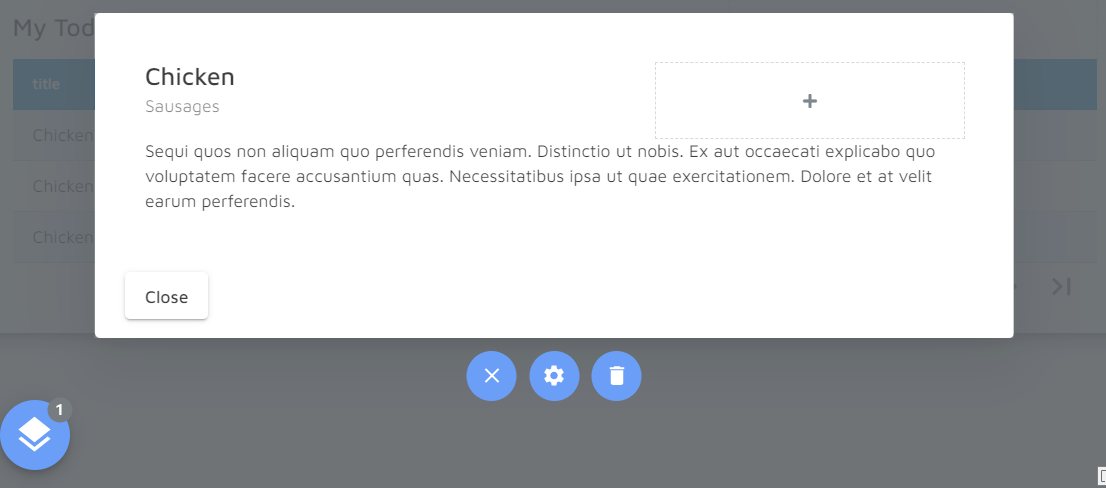
Select the Home page and press Generate Selection to get the Web application and see the result.
Step 3 - Create a search form
Let’s now add to the Home page the chance to search for a specific To Do providing a keyword. The keyword will search in all the To Do information. Let’s use a Form component at this purpose. The form has one event for filtering the My Todos list. A "Clear" predefined event is available in the UI Designer for resetting fom fields. You should get a model similar to the one shown here:
Now let’s design the graphic of the search form to be proposed at the top right corner of the data grid showing the list. Here is an example:

Select the Home page and press Generate Selection to get the Web application and see the result.
Step 4 - Create the application menu
Let’s now create the application menu so that the user can access all the web application’s main features. The Web application will also manage Contacts and Logs information, so let’s add two pages at this purpose.
Now let’s design the graphic of the main menu in the presentation editor. Select the “Public Web View” and move to the Layout tab. Let’s suppose to design an horizontal menu in the top bar. You should get something like the following:

Press Generate and run to get the Web application and see the result.
Step 5 - Manage To dos
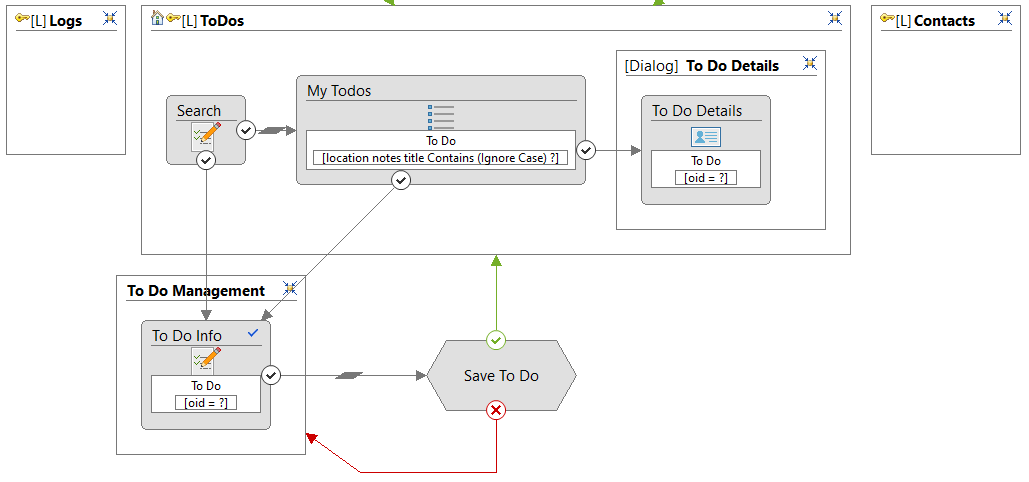
Let’s add to the Web application the chance for the user to add new To Do. The goal is to let the user add new To Dos through a Form and to edit existing ones from the list. The model of the page you should obtain is the following:
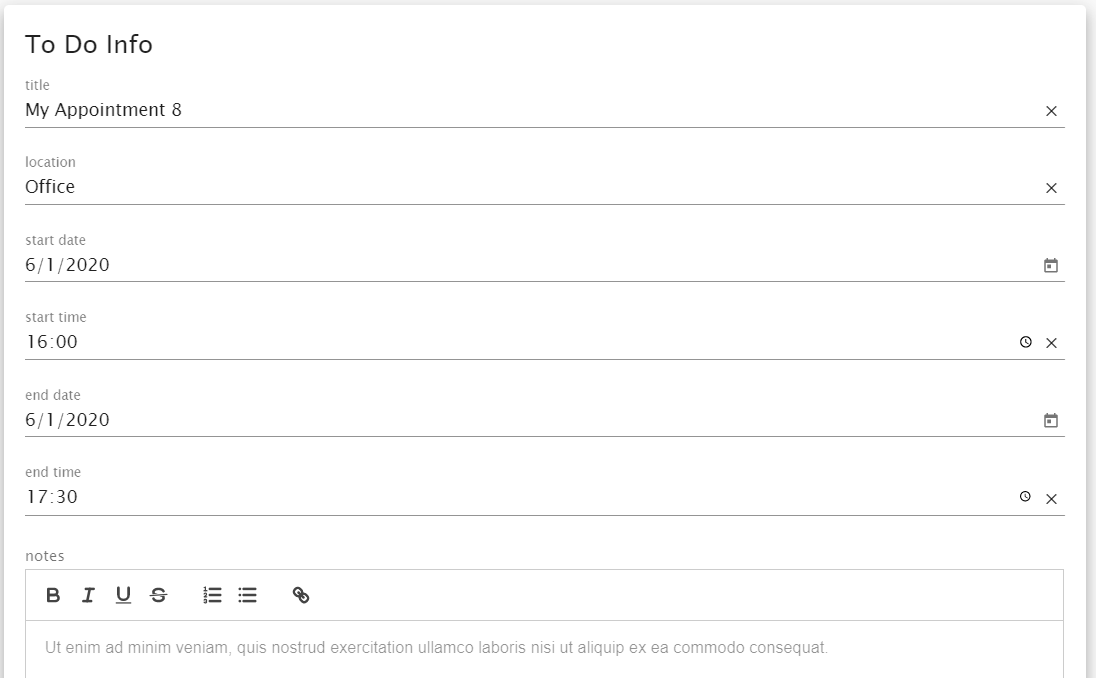
Now let’s design the graphic of the form so that a Card is shown with all fields inside. This is a preview of the desired result.
Select the To Do’s page and place the add button next to the list title.
Select the Home page and press Generate Selection to get the Web application and see the result.